Last updated November 18, 2026
The ADU Design Process: From First Sketch to Permit Set
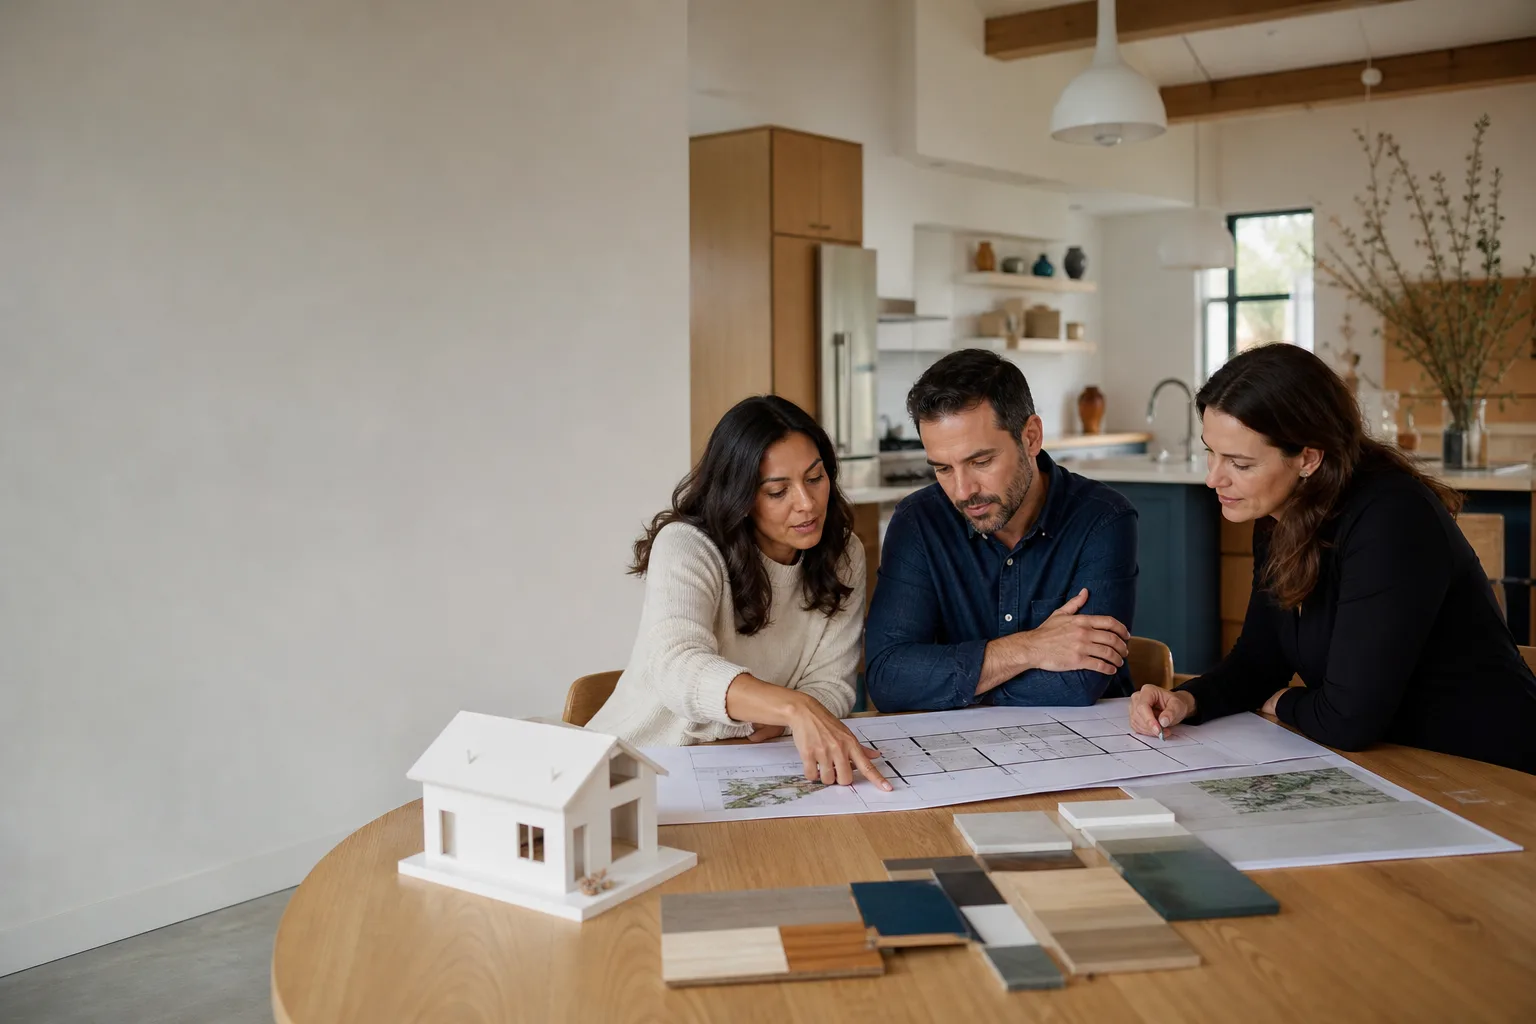
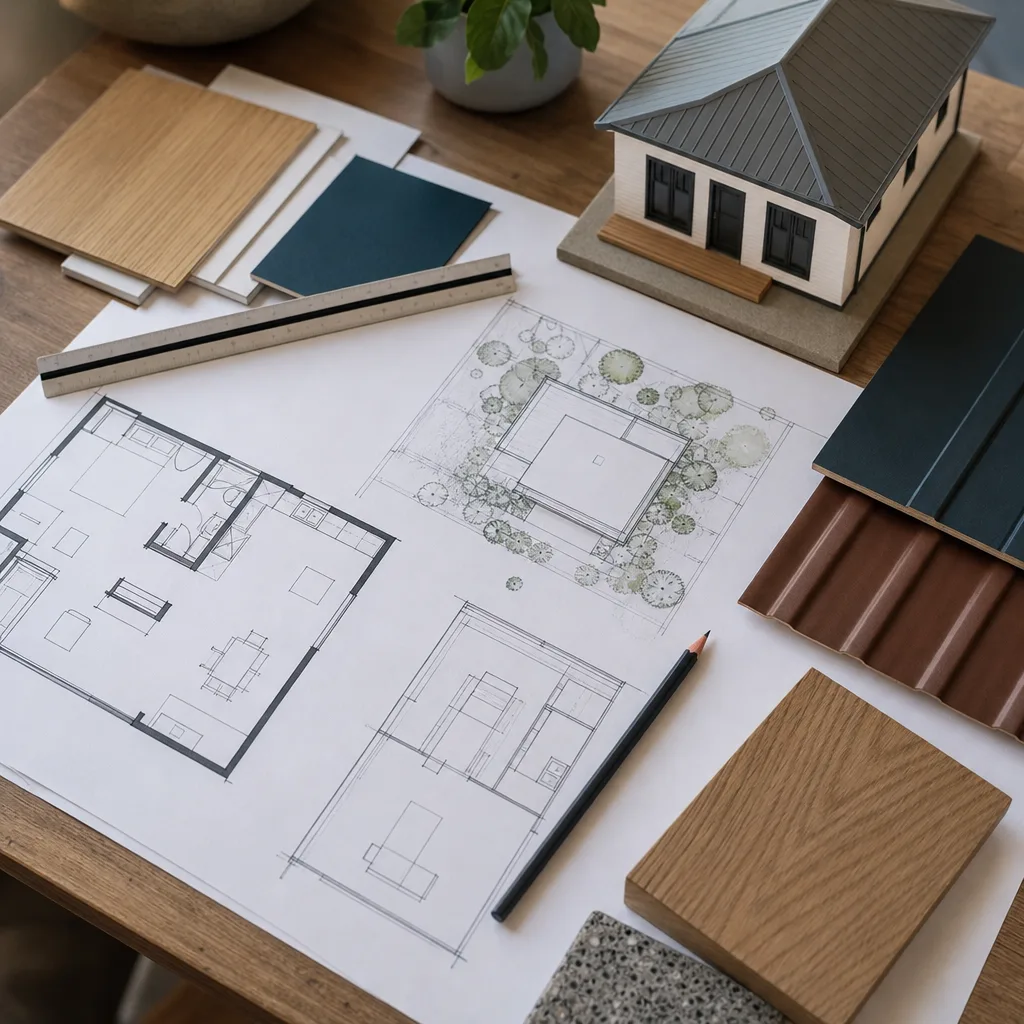
Most people assume an ADU goes wrong at the job site. In our experience, it goes wrong much earlier, at the kitchen table, in the first sketches of a plan that nobody checked against the zoning code before it was drawn. The design phase is where your budget and your permit timeline are actually decided, long before anyone breaks ground in Henderson. Get the design right and construction becomes the easy part. Get it wrong and you’ll spend months resubmitting drawings. Here’s how the process really works, step by step, and how to keep it moving.
Quick Answer
An ADU design process in Henderson moves through five main stages: an initial site and zoning check, a schematic sketch that confirms the unit fits your lot, design development that settles materials and systems, the construction drawing set, and finally a permit-ready plan submission to the city. Prefab units from a brand like Cover or Dvele follow a shorter, standardized version of this path. Either way, the goal is the same: a complete, approvable plan set that a builder can construct and an inspector can sign off on.
Table of Contents
- Why the Design Phase Decides Your Whole Project
- How Henderson Zoning Shapes Design Before the First Line
- What a Permit-Ready ADU Plan Set Actually Contains
- The Design Review Questions That Prevent Costly Changes
- Prefab Versus Custom: How the Design Workflow Differs
- What Value Engineering Looks Like in Real ADU Design
- Common Mistakes to Avoid
- Frequently Asked Questions
Why the Design Phase Decides Your Whole Project
The design phase is where every dollar of your ADU gets committed. Dimensions on paper become concrete, lumber, wire, and plumbing in real life, and changes get far more expensive once those materials are ordered or installed. A wall width changed on paper costs nothing. The same change after framing costs real money and time. That’s reason enough to treat design as the most important stage.
There’s a second reason that has nothing to do with money. Permit approvability is baked into the drawings. A plan examiner reads your set and checks it against the zoning code and the building code line by line. If a required sheet is missing, a dimension is ambiguous, or a setback is wrong, the set comes back with corrections and the whole project waits. In Henderson, the design decisions you make early determine whether you get a clean first pass or a set of correction rounds that add weeks.
Here’s how we think about it. An ADU is one of three things on your property: a place to house a family member, a way to generate rental income, or a property improvement that boosts resale value. Each goal points to different design priorities, and the earlier you’re clear about which one is driving the project, the smoother the design goes. A unit built for a parent needs different bathroom and entry layouts than a unit built for a renter. Get that conversation out of the way in schematic design, not during finishes.
This is exactly the kind of work we specialize in. As a dedicated ADU builders team, we’ve watched the same design problems derail projects over and over, and we structure our process to solve them before they reach the job site.
How Henderson Zoning Shapes Design Before the First Line
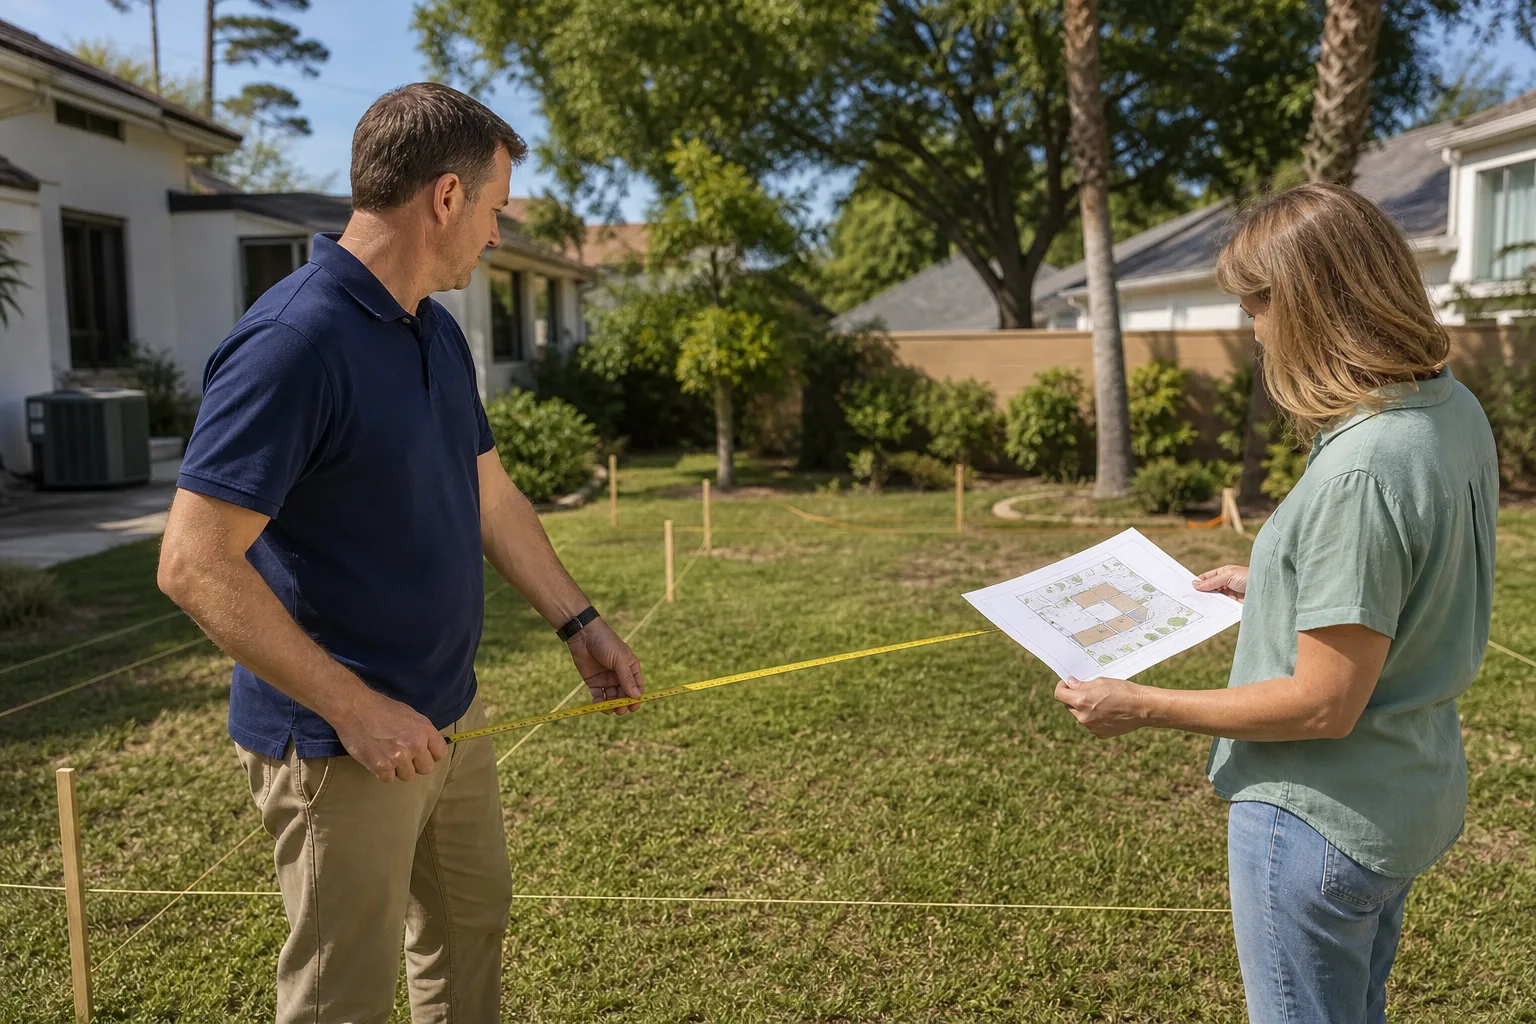
Zoning comes first. Always. Before anyone sketches a floor plan, we confirm what your specific lot and the current city code allow. Setbacks, lot coverage, height limits, and parking all constrain the design, and none of them are things you can decide after the fact. The code, and how it applies to your parcel, decides what’s possible before a designer has a say.
The key point is that ADU rules in Henderson depend heavily on the details of your lot, not on a one-size-fits-all rulebook. Lot size, existing structures, the home’s footprint, and the neighborhood’s zoning all matter. The rules can also change over time. That’s why we verify the current code with the city’s planning or building department before any plan is final, every single time. Anyone who tells you the answers without pulling your parcel up is guessing.
The zoning questions that shape the design
- Setbacks: Where can the unit legally sit? How close can it come to the property line, the main house, and the rear lot line? These are the first questions, because they define your buildable envelope.
- Lot coverage: How much of the lot can be covered by buildings, including the ADU? On a lot that’s already near the coverage ceiling, a garage conversion may be the only route.
- Height: How tall can the unit be? This affects whether you can go two stories and what roof pitch you can use.
- Parking: What parking is required for the new unit? This can reshape the site plan and where the unit sits.
- Unit size: What square footage can you build? The zoning envelope caps the size, which drives everything from the floor plan to the cost.
The design lesson is simple: define the envelope before you design inside it. A beautiful floor plan that doesn’t fit your setbacks is scrap paper. When we start a project, the zoning analysis comes first and the drawing comes second. That ordering alone prevents a lot of heartache. If you’re unsure whether your lot can support a new unit at all, a garage conversion may be the right starting point, which is one of the reasons we’ve built our room addition contractor and garage conversion services around the same process.
What a Permit-Ready ADU Plan Set Actually Contains
A permit-ready ADU plan set is a bound package of drawings and documents that fully describes the unit so an examiner can check it against the code and a builder can build from it. It’s more than a floor plan and a pretty rendering. A missing sheet is one of the most common reasons a submission stalls.
The core sheets
- Site plan: Shows the lot, the existing house, the new ADU, property lines, setbacks, driveways, utility connections, and drainage. This is the sheet the zoning check happens on, so it’s often the first one an examiner inspects.
- Floor plan: Shows rooms, dimensions, door and window locations, walls, and appliance placement. Every dimension that a builder needs to frame should be on it.
- Elevations: Shows the unit from each side, with exterior materials, roof pitch, window and door heights, and how the new structure looks against the existing house. This is also where height compliance is confirmed.
- Foundation plan: Shows footing and slab or pier details, reinforcement, and how the unit ties to the ground and existing structures. This is the sheet that supports the structural work.
- Electrical and plumbing schematics: Shows panel locations, circuits, outlets, fixture locations, supply and drain routing, and cleanouts. These are the drawings an inspector uses to verify the rough-in.
- Energy compliance documentation: Nevada requires energy code compliance on residential construction, and the plan set needs the documentation behind it. This is the Nevada equivalent of the Title 24 package California uses, and it covers insulation, windows, heating and cooling, and envelope details.
Depending on the unit and the lot, the set may also include structural calculations, a title or grading sheet, and manufacturer documents for a prefab unit. The takeaway is that a permit set is a coordinated package, not a sketch. The drawings have to agree with each other, which is why the electrical schematic on page seven has to match the floor plan on page two.
The Design Review Questions That Prevent Costly Changes
Most of the expensive changes on an ADU trace back to questions that were never asked during design. We’ve learned to run through a short list of design review questions before the drawings are finalized, because each one, handled early, saves a scramble later. Here they are, framed the way we actually ask them.
Utility routing
Where does the electrical panel sit relative to the new unit? How far is the run for the gas, water, and sewer lines? Does the existing service have the capacity to add a dwelling unit, or will the panel need upgrading? These are decisions, not afterthoughts. A unit placed far from the panel means a long, expensive service run. A unit placed near the existing plumbing wall can share a wall for drains and save real money. Settle the routing in design, before the trench is dug.
Window placement for egress and light
Every bedroom needs a code-compliant emergency egress opening, meaning a window that a person can climb through safely. That’s a life-safety requirement, not a design preference. Placing windows for egress and daylight in the same pass takes coordination between the architect and the code book. Getting it wrong means cutting a second window into a finished wall, or discovering it during inspection. We set egress windows in the design phase and never move them.
Exterior material compatibility and HOA approval
Your new unit will be seen next to your existing house, so the materials should relate to it, and to the surrounding neighborhood, in a deliberate way. Siding, roofing, trim, and color all shape how the unit reads from the street and from the backyard. If you live in an HOA community, exterior appearance rules may apply, and those rules are worth reviewing in design. An HOA rejection of an exterior color after the siding is installed is an avoidable problem. Check the rules while the material board is still open.
Roof decisions that are hard to change later
Roof pitch, roof style, and how the new roof drains are all locked in once framing is up. A flat roof might be simpler and cheaper to build, while a pitched roof may blend better with the main house. Decide early, because the roof is one of the most expensive things to change later.
This review step is where an experienced ADU team earns its keep. We’ve navigated this process before and we know where the delays happen. When you work with a specialist rather than a generalist, these questions get asked by default, because the process is built around them. That’s part of what makes Casita Builders a specialist in the Henderson area.
Prefab Versus Custom: How the Design Workflow Differs
Prefab ADUs from a brand like Cover or Dvele don’t skip design, but they change it. With a prefab unit, the design work moves from “draw a building” to “select a model and adapt the site.” The unit itself is engineered by the manufacturer, so the drawings and specs come largely pre-built. Your local work becomes the site plan, the foundation, the utility connections, and the coordination between the factory and the site.
How the prefab design workflow typically runs
- Model selection: You choose a floor plan and options from the manufacturer’s lineup, and you compare what each model needs from your lot.
- Site fit and zoning check: We confirm the selected model fits your setbacks, lot coverage, and size limits, and verify the code with the city.
- Foundation and utility design: The site drawings, foundation details, and electrical and plumbing connections are developed so the unit can be set and connected.
- HOA and appearance review: The exterior package is reviewed against any HOA rules before the order is finalized.
- Manufacturer and permit coordination: The manufacturer’s drawings and the site drawings are combined into a submittal package, and we handle the handoffs between the factory and the city.
The advantage of prefab is predictability. The unit’s design and engineering are settled, which shortens the local design work and removes a lot of drawing revisions. The trade-off is flexibility. You’re choosing from a menu rather than starting with a blank page. For homeowners who want a fast path to a finished unit, that trade can be a good one. For a lot with complications (steep grade, tight setbacks, an unusual existing structure), a custom design may adapt better.
Because we install units from Abodu, Cover, and Dvele and also build custom ADUs from the ground up, we can give you a straight comparison instead of steering you toward the model we happen to sell. That unbiased view is one of the things we pride ourselves on. If you’re weighing a garage conversion as a lower-cost entry point, we can also walk you through that option. All three paths are part of our core business, and we help you pick based on your lot, your timeline, and your budget rather than on what’s easiest for us.
What Value Engineering Looks Like in Real ADU Design
Value engineering has a bad reputation as a synonym for cutting corners. In ADU design, it’s the opposite. It’s about identifying the specific decisions that move cost the most without hurting how the home actually lives. You can trim a budget meaningfully and still have a livable, comfortable unit if you know which levers to pull. Here are the ones that matter most.
Ceiling height
A standard ceiling height is cheaper to frame, finish, and heat than an extra-tall ceiling. Unless the design calls for a vaulted space, a standard height is one of the simplest ways to hold cost down while keeping the unit comfortable. It also reduces the wall area that needs finishing.
Roof pitch
Roof pitch drives material quantity and labor. A lower, simpler roof costs less than a steep one, and it’s also easier to detail for weather. The right pitch is the one that suits the design and the budget together. Choosing it in design means the framing and roofing bids come in on target.
Bathroom count
Each bathroom is a bundle of plumbing, fixtures, tile, and venting. For many ADUs, a single well-planned bathroom serves the unit perfectly. When a second bathroom is genuinely needed (a two-bedroom rental, for example), that’s a real design decision and worth its cost. But adding one out of habit is one of the fastest ways to inflate a budget without adding real livability.
Kitchen layout
An efficient kitchen with a compact work triangle costs less than an oversized one and usually lives better. Placing the kitchen against the shared plumbing wall keeps the plumbing run short. These layout decisions are free on paper and expensive in the field.
Window size and count
Windows are a premium item, and each one is a hole in the building envelope that has to be flashed, finished, and insulated. A few well-placed windows that deliver light and egress are often better than many smaller ones. Placing them deliberately, rather than liberally, keeps the budget in check.
Prefab as its own form of value engineering
A prefab unit like a Dvele model gets some of this value engineering done in the factory. Standardized dimensions and factory assembly can reduce site labor and shorten the schedule, which is a legitimate cost advantage when the model fits your lot. That’s a real option, not a compromise.
Notice that none of these decisions live in the construction phase. Every one of them is made in design. That’s the through-line of this whole guide: the cost of your ADU is decided long before the first nail.
Common Mistakes to Avoid
- Designing before checking zoning. The single most common mistake. If you draw a beautiful unit that violates a setback or lot coverage limit, the concept is dead on arrival. Always run the zoning check against your specific lot first.
- Skipping the energy compliance documentation. Missing or incomplete energy code paperwork is a plan-review stopper. Nevada’s residential energy requirements are part of the set, so they belong in the submittal from the start, not as a follow-up.
- Forgetting about the electrical panel. Whether your existing service can handle a new dwelling unit is a design question, and the answer sometimes points to a panel upgrade. Confirm capacity early, before the design assumes it’s there.
- Ignoring HOA exterior rules. In Henderson communities with an HOA, exterior colors and materials can require approval. Check the rules while the material choices are still open. A rejected color after installation is an avoidable setback.
- Changing the design during construction. A wall moved on paper costs nothing; a wall moved after framing costs real money and schedule. Lock the design before construction, then hold to it.
- Choosing prefab or custom before comparing. Both paths are legitimate. Picking one out of habit, before you’ve seen what each means for your lot and budget, can cost you flexibility or money. Compare first.
- Assuming a garage conversion is a lesser option. For many lots, a garage conversion is a smart, lower-cost way to add livable square footage without breaking ground. Don’t dismiss it until you’ve looked at the numbers.
When to Call a Professional
You should bring in an ADU specialist when your project needs a plan set that will actually pass review, a clear read on what your specific lot allows, and a single point of contact from design through final inspection. If you’re comparing a prefab model against a custom build and you don’t want to be steered toward one by a salesperson, that’s the moment to call. If you’re considering a garage conversion and wondering whether it’s the right fit, a professional can look at your actual property and give you a straight answer. You don’t need an ADU expert to decide whether you want more living space. You need one the moment you want to know whether your lot can support it, and how much it will cost to build it properly.
Casita Builders Henderson offers free estimates in Henderson with written line-item quotes and no change orders once work begins. Call (888) 590-7302 to schedule yours.
Frequently Asked Questions
We don’t quote a fixed timeline in weeks or months because the schedule depends on your lot, your design choices, and how quickly the city reviews your set. The design phase is generally the fastest part of the total project, and the permit review is the part we can’t control. We’ll set the schedule in your written estimate so you know what to expect before you commit.
You can, but the drawings still have to be prepared by someone qualified and must meet the city’s submittal standards, and they still need a plan review. The bigger risk is that a design drawn without checking zoning against your lot comes back with corrections. We’d rather start the design with the zoning analysis done, so the drawings you pay for are the ones that get approved.
A prefab ADU (like a Cover or Dvele model) is engineered and built by the manufacturer, and the local design work focuses on site fit, foundation, and utility connections. A custom ADU is designed from scratch around your lot and your preferences. Prefab is more predictable and faster to design; custom is more flexible. Because we work with both, we can compare the two honestly for your property.
Yes. We prepare the permit submittal, coordinate with the city’s planning or building department to confirm the rules that apply to your lot, and manage the review. We can’t promise a review timeline, since that’s the city’s, but we do everything we can to make the first submittal as complete as possible. A complete set is the single biggest factor in how smoothly review goes.
Yes, and with good design it usually does. A garage conversion keeps the existing structure and footprint, which often avoids some of the site issues a new build raises. The design work is about making the converted space feel intentional: matching the exterior, upgrading the walls and openings for living space, and laying out a real kitchen and bath. It’s a lower-cost path to added square footage, and it’s fully a design project.
Our written estimate sets the price and we hold to it, with no change orders on the work we’ve scoped. That’s one reason the design phase matters so much: a complete design means fewer surprises later. If you change the scope after the estimate, that’s a conversation we have before the work happens, never after.
The Bottom Line
Your ADU’s budget and timeline are decided in design, not in construction. Check zoning against your specific lot first, build a complete plan set (site plan, floor plan, elevations, foundation, electrical and plumbing, and energy compliance), and settle the questions that are expensive to change later: utility routing, egress windows, exterior materials, and roof. Compare prefab and custom before you commit, and use value engineering to trim cost without trimming livability. Do that in Henderson, with a team that works on ADUs and only ADUs, and construction becomes the straightforward part. Call (888) 590-7302 to schedule your free estimate.
Written by the team at Casita Builders Henderson.